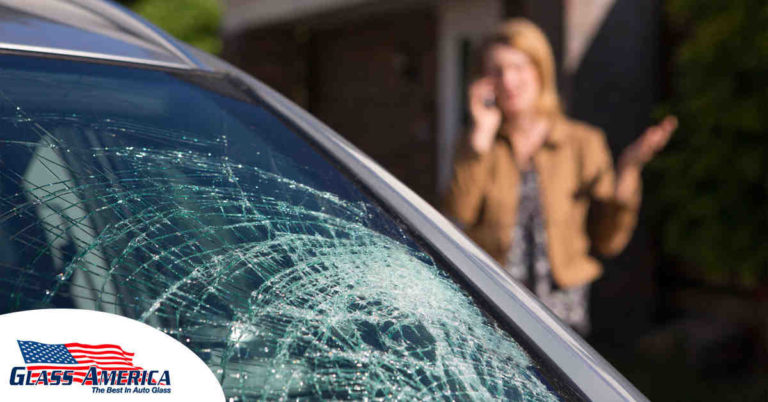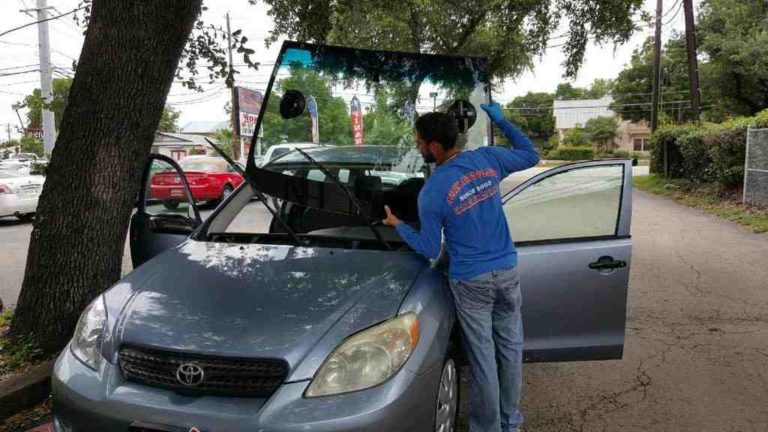
How Technicians Remove Old Windshield Adhesive (and Why It Matters)
A windshield is only as strong as the bond beneath it — and that bond begins with properly removing the old adhesive. It’s the least glamorous part of a replacement and the easiest place for a rushed installer to cut corners, but it directly determines whether your new windshield seals correctly and protects you in a crash. Here’s how professionals do it and why it can’t be skipped.
This step sits at the heart of the windshield replacement step-by-step guide, and it’s worth understanding before you choose a shop.
What is windshield adhesive, exactly?
Modern windshields are bonded to the vehicle with automotive urethane — a tough, flexible adhesive that cures into a strong, rubbery seal. It’s engineered to hold the glass through decades of vibration, temperature swings, and even the force of a collision. Removing and replacing it correctly is the foundation of every step that follows.
The tools technicians use
There’s no single tool for the job; experienced technicians choose based on the vehicle and the situation:
- Cold knife — a manual blade with a handle, pushed and pulled through the urethane bead by hand
- Wire-out systems — braided or square wire threaded through the bead and pulled around the perimeter; gentle on the pinch-weld and increasingly popular
- Power cut-out tools — oscillating or reciprocating blades that speed up removal on tough or thick beads
- Specialty scrapers and trim tools — used to clean up the bonding surface afterward
Whatever the tool, the goal is the same: free the glass without gouging the metal frame or damaging the paint.
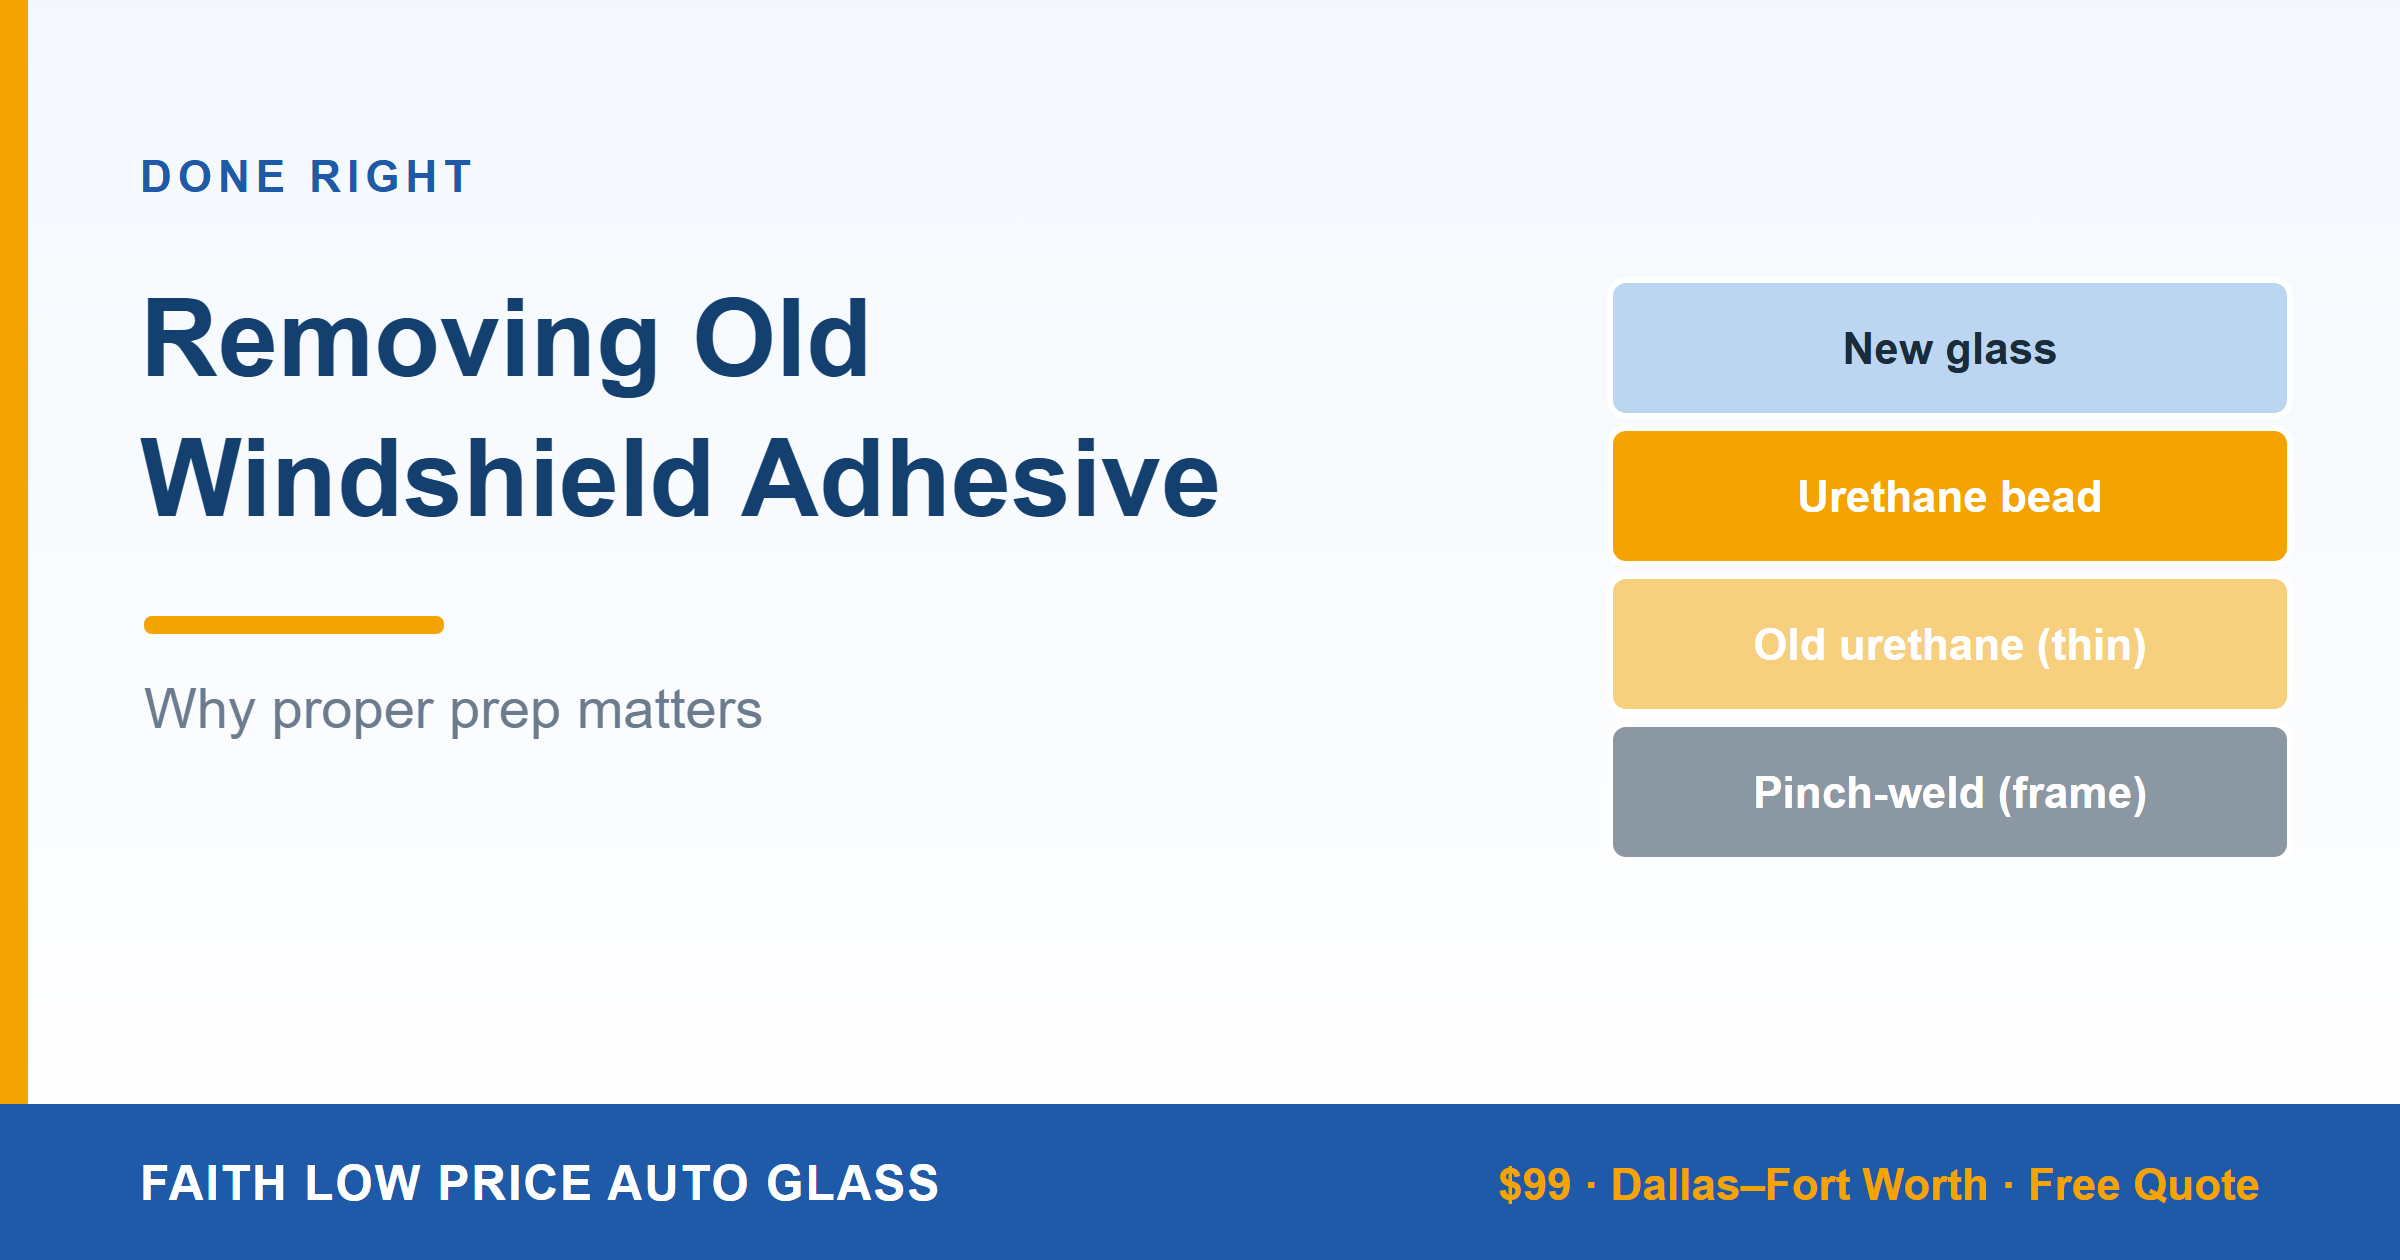
The ‘full-cut, short-bond’ method
Here’s a detail most drivers never hear about. Best practice is not to scrape the old urethane down to bare metal. Instead, the technician trims the existing bead down to a thin, even layer — usually a millimeter or two — and bonds the new windshield to that. A thin layer of original, fully-cured urethane provides an ideal, contamination-free surface for the new bead to grip. Stripping to bare metal exposes the frame to rust and requires re-priming the entire surface, which can actually weaken the result if done poorly.
What dissolves windshield adhesive?
This is a common question, and the answer surprises people: cured urethane is extremely resistant to solvents, which is exactly why it’s cut mechanically rather than dissolved. There’s no safe household product that will simply melt it away. Adhesive removers, glass cleaners, and primers are used only to clean and prepare the bonding surface — not to strip the cured bead. If a shop claims to dissolve the old adhesive, be skeptical.
Why proper removal and prep matter so much
Leaving behind contamination, rust, an uneven surface, or too much old adhesive weakens the new bond. The consequences show up as water leaks, wind noise at highway speed, fogging inside the cabin, and — in the worst case — a windshield that doesn’t perform in a crash. That’s why preparation deserves as much attention as the new glass itself, and why curing the new bond properly afterward is just as critical, as we explain in windshield cure time before driving.
Signs the adhesive removal was done right
- No water leaks during rain or a car wash
- No wind noise or whistling at highway speed
- No rust forming around the windshield frame over time
- Moldings and trim sit flush with no gaps
- A clean, even appearance around the entire perimeter
The bottom line
Adhesive removal isn’t the part of the job you see in the brochure, but it’s where quality is won or lost. A shop that takes the time to remove and prep correctly is a shop that takes your safety seriously. For the complete walkthrough from start to finish, see our complete windshield replacement process guide.
How adhesive prep affects ADAS and long-term reliability
Proper adhesive removal does more than prevent leaks today — it protects the precise positioning your vehicle’s technology depends on. If the new glass sits even slightly off because the bonding surface was uneven, a windshield-mounted ADAS camera can be harder to calibrate accurately, affecting lane-keeping and automatic braking. Clean, even prep also prevents corrosion under the trim that, left unchecked, can spread and compromise the frame years down the road. The few extra minutes a technician spends here pay off for the life of the vehicle.
Questions to ask your installer about prep
- Will you trim the old urethane or strip to bare metal, and why?
- How do you treat any rust or scratches on the pinch-weld?
- What primer and adhesive system do you use?
- Do you warranty against leaks and wind noise caused by the seal?
You don’t need to be an expert to ask these — you just need to hear clear, confident answers. A shop that welcomes the questions is one that does the unseen work right.
Why cheap installs cut this corner
When a replacement quote seems surprisingly low, the savings often come from the part you can’t see: prep. Rushing or skipping proper adhesive removal and frame preparation saves the installer minutes but transfers the risk to you in the form of leaks, rust, and a weaker bond. Quality shops price in the time to do this step right because they know it’s where the durability and safety of the whole job are decided. It’s the clearest example of why the lowest price isn’t always the best value.
Frequently Asked Questions
What dissolves windshield adhesive?
Practically nothing safe — cured automotive urethane resists solvents, so technicians cut it out mechanically with knives, wire, or power tools rather than dissolving it.
Do technicians remove all the old adhesive?
No. Best practice is to trim it to a thin, even layer and bond the new glass to that, rather than stripping to bare metal, which can invite rust.
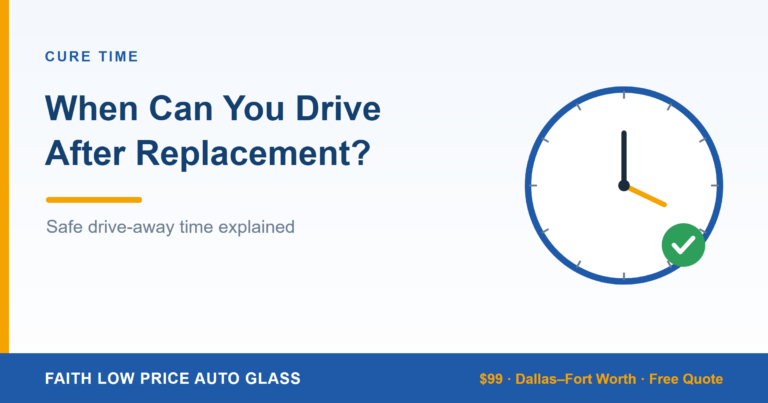
How long does urethane adhesive take to cure?
The new bond reaches safe drive-away strength in roughly an hour, with full cure taking up to a day or more depending on the product and conditions.
Can leftover old adhesive cause leaks?
Yes. Contamination, rust, or an uneven old bead can prevent the new urethane from sealing, leading to leaks and wind noise.
Get your free Dallas windshield quote today. Faith Low Price Auto Glass offers professional windshield replacement from just $99 across the Dallas–Fort Worth metroplex, with mobile service and same-day appointments available. Request your free, no-obligation quote →